Vinyl Toys Come to Life: A Step-by-Step Guide to the Making of Organ Donors
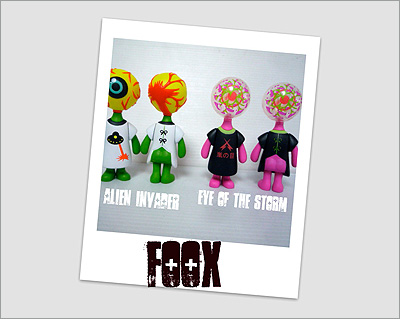
Editor’s Note: As a creative person I’ve been watching the urban toys scene in awe — and the first question that pops into my head is always “What’s the process of making these cool art objects into reality?” Long time artist David Foox has just introduced a line of toys called Organ Donors, so I asked him as a favor to write up an article giving his start-to-finish experience as a first time creative tackling the world of designer toys.
Step #1 Concept
The most important aspect of any custom vinyl toy is CONCEPT. “If your concept is solid, your toy is a success.” – Erick Scarecrow, friend. While this is the first step of the project, it is actually the most important step – and the one that is most often neglected. People are typically in a hurry to get to the other steps and fail to adequately delve into the concept that is being developed. In order to best develop a concept, I would advise people to first create an inhabitable environment, world, universe, or cause.
In the case of Organ Donors, this was done by developing out the notion and inspiration we have felt from seeing the benefit of organ donorship. So, on the one hand we wanted to remain true to the principles of the concept – to educate and bring about awareness of the importance of sharing organs when you no longer need them. (one human body can provide organs for 50 other people). And yet the concept had to also remain true to our notions on custom vinyl collectibles – ie: to be FUN, engaging, somewhat interactive, playful, etc. So with these very important aspects in mind we developed our first custom vinyl toy line and launched it this year at NY COMIC CON!
So developing a concept requires finding inspiration and really teasing out what that inspiration means to you or to society or whatever and then running with it.
Step #2: Sketching and Artwork
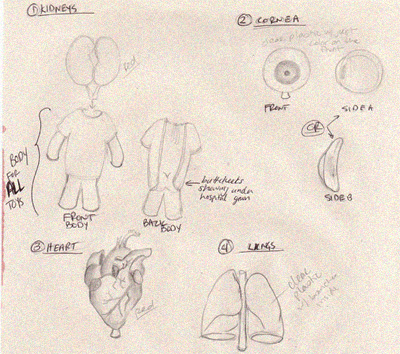
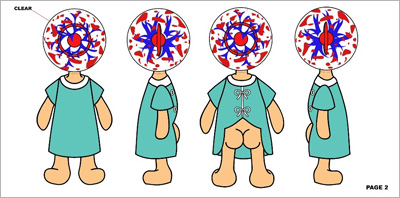
The next step is the actual drawing of what you have in mind. This is a fun but long process. Do not rush! You can do rough 1-5 minute sketches to begin with and try to incorporate as many views as possible early on. You want to get a really good overview of the size, dimensions, and bits and pieces. Start thinking of your favorite toys and how their arms and bodies interact and develop this within your sketches. For instance, Organ Donors has 5 points of articulation (arms, feet and head).
Think about standard sizing vs. custom sizing and think about the molds that will have to be created to fulfill your toy concept. Another thing to consider is taking real life inspiration in your sketches. So for instance, in Organ Donors I looked at photographs of real brains, real eyeballs, real blood cells, etc. The unique and rare colorways are developed out of a play on words (ie: Lionheart) and further bring about awareness and sympathy for these Organ Donors.
Step #3: Molds and Resins
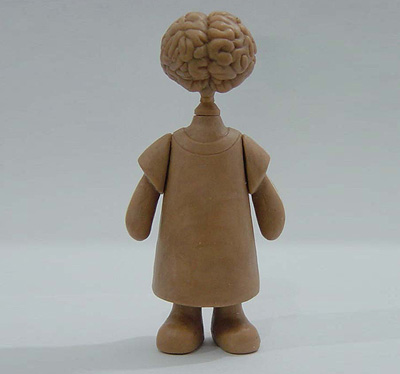
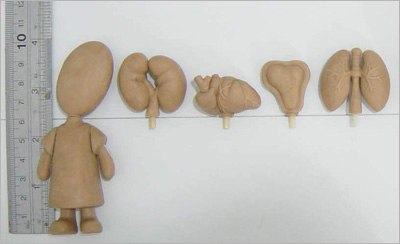
Today there are many companies that are able to provide assistance in the creation of a 3D mold and then the subsequent resins. The key is getting the sketches translated into a nice tight and tidy 3D version. At this point colorways can be added and these colorways can include coding relevant for the printer or decals. This is an expensive part to the process because you HAVE to get the molds perfect and also consider flash lines etc. These molds are going to be producing thousands of toys before needing to be replaced and therefore very important. We were lucky enough to work with Erick Scarecrow over at ESC-toys. Seeing his big smile it is hard not to start smiling too – and I see he was sporting the Foox-U hat over at Comic Con.
Organ Donors worked with 9 molds and then each mold represented 3-4 colorways. By using this type of efficiency, we were able to extend the number of colorways (so more collectibles) while at the same time minimizing the number of molds needed. This is very important because it is a much needed cost savings and worthwhile to keep in mind. Organ Donors has 24 different characters and yet all of them came from only 9 molds!
The resins that get produced at this point in the process become very valuable. They are one of kind – they are the mold that created the entire line of toys. These are the most awesomest. I value our Organ Donors resin sets VERY VERY MUCH! We have 2 full sets – hand painted – and 1 half set -pure white.
Step #4: Tweaking Colorways and Second Set of Resins:
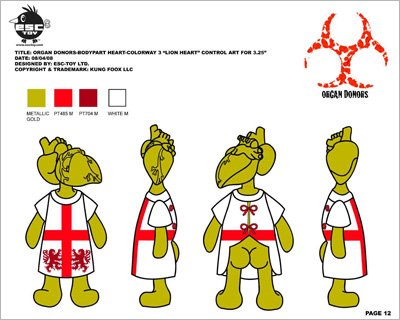
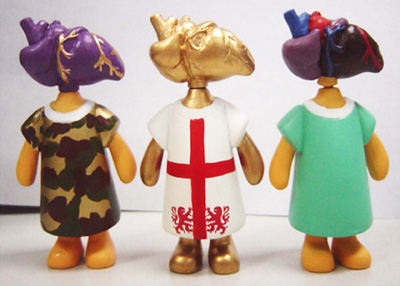
Getting it right! At this point you will also need to review carefully the colorways for each character. Does the skin look too yellow, too pale, too pink? Do you want more details and if so what will they add to the toy. Remember details are important only in conjunction with the overall concept. If a colorway detail distracts from the overall concept – be gone with it! Off with its head!
In Organ Donors we decided to change (ever so slightly) the colors of the skin and hospital gown. We also made an executive decision to make the plasma and stem cells clear (see through) plastic rather than the solid pieces originally planned. This change was based solely on coolness factor.
Step #5: Let it Roll
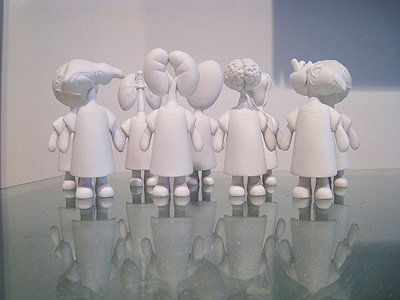
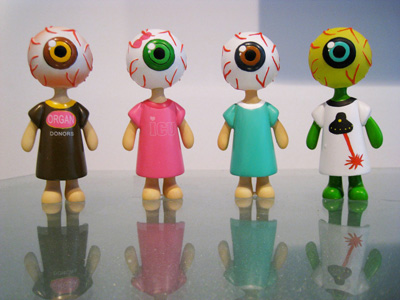
At this point the toy is on its way and production has started. Sit back, relax, and wait for the good news.
Things to Consider:
Other things that are very important to consider when working with agents or factories overseas.
1. Keep in mind that February is Chinese New Years. Everything shuts down – EVERYTHING!
2. If you want to set aside a certain selection of toys for yourself or special collectors – you better tell your factory this up front. and be firm about it.
Step #6: Reality!
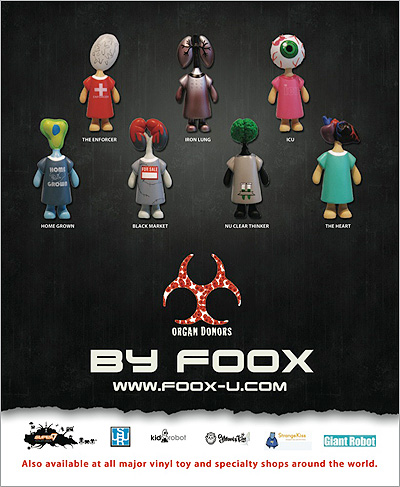
ORGAN DONORS was recently released, to much critical acclaim, at New York Comic Con. David Foox, creator, and Fanboy boss, Michael Pinto exchanged ideas regarding this blind box concept and the overall feel of Comic Con 2009. You can find ORGAN DONORS online at http://www.foox-u.com and at any Kidrobot, Munky King stores.
David Foox is a professional artist, painter, and founding member of the Kung Foox Collective. You can see his work at kungfoox.com and his blog at kungfoox.typepad.com.


